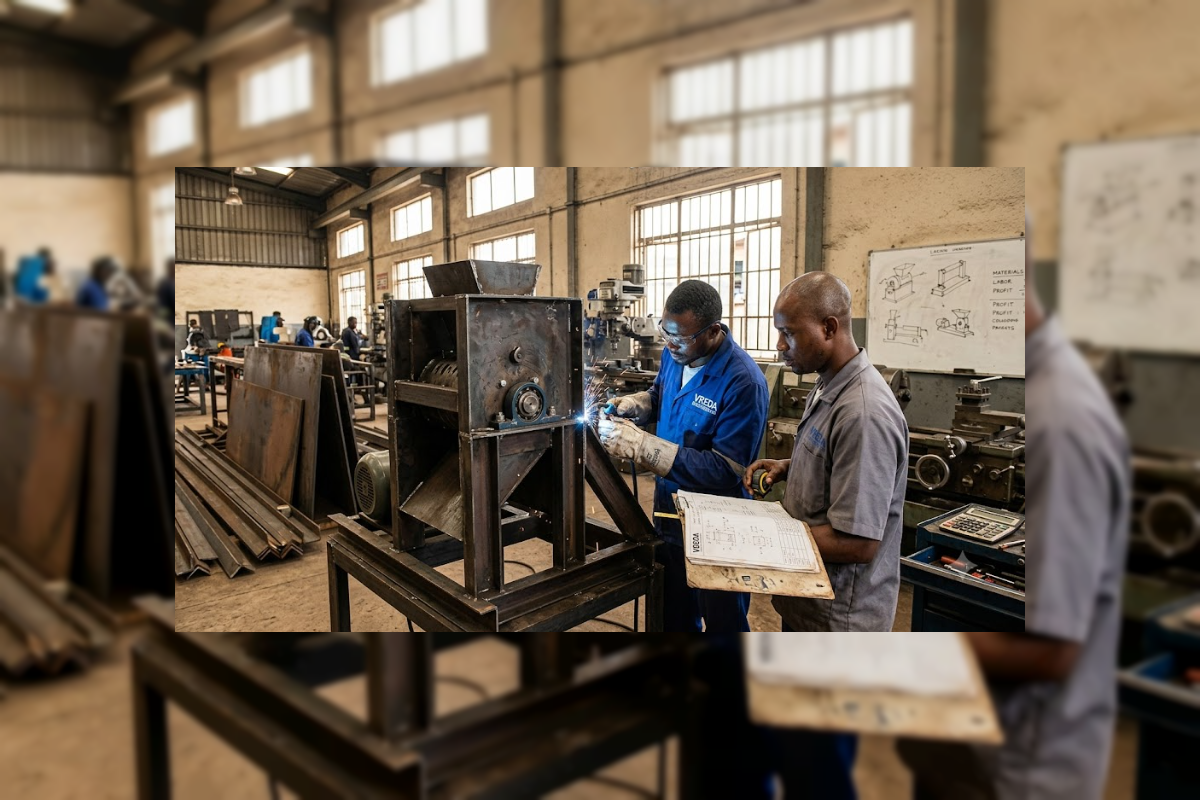

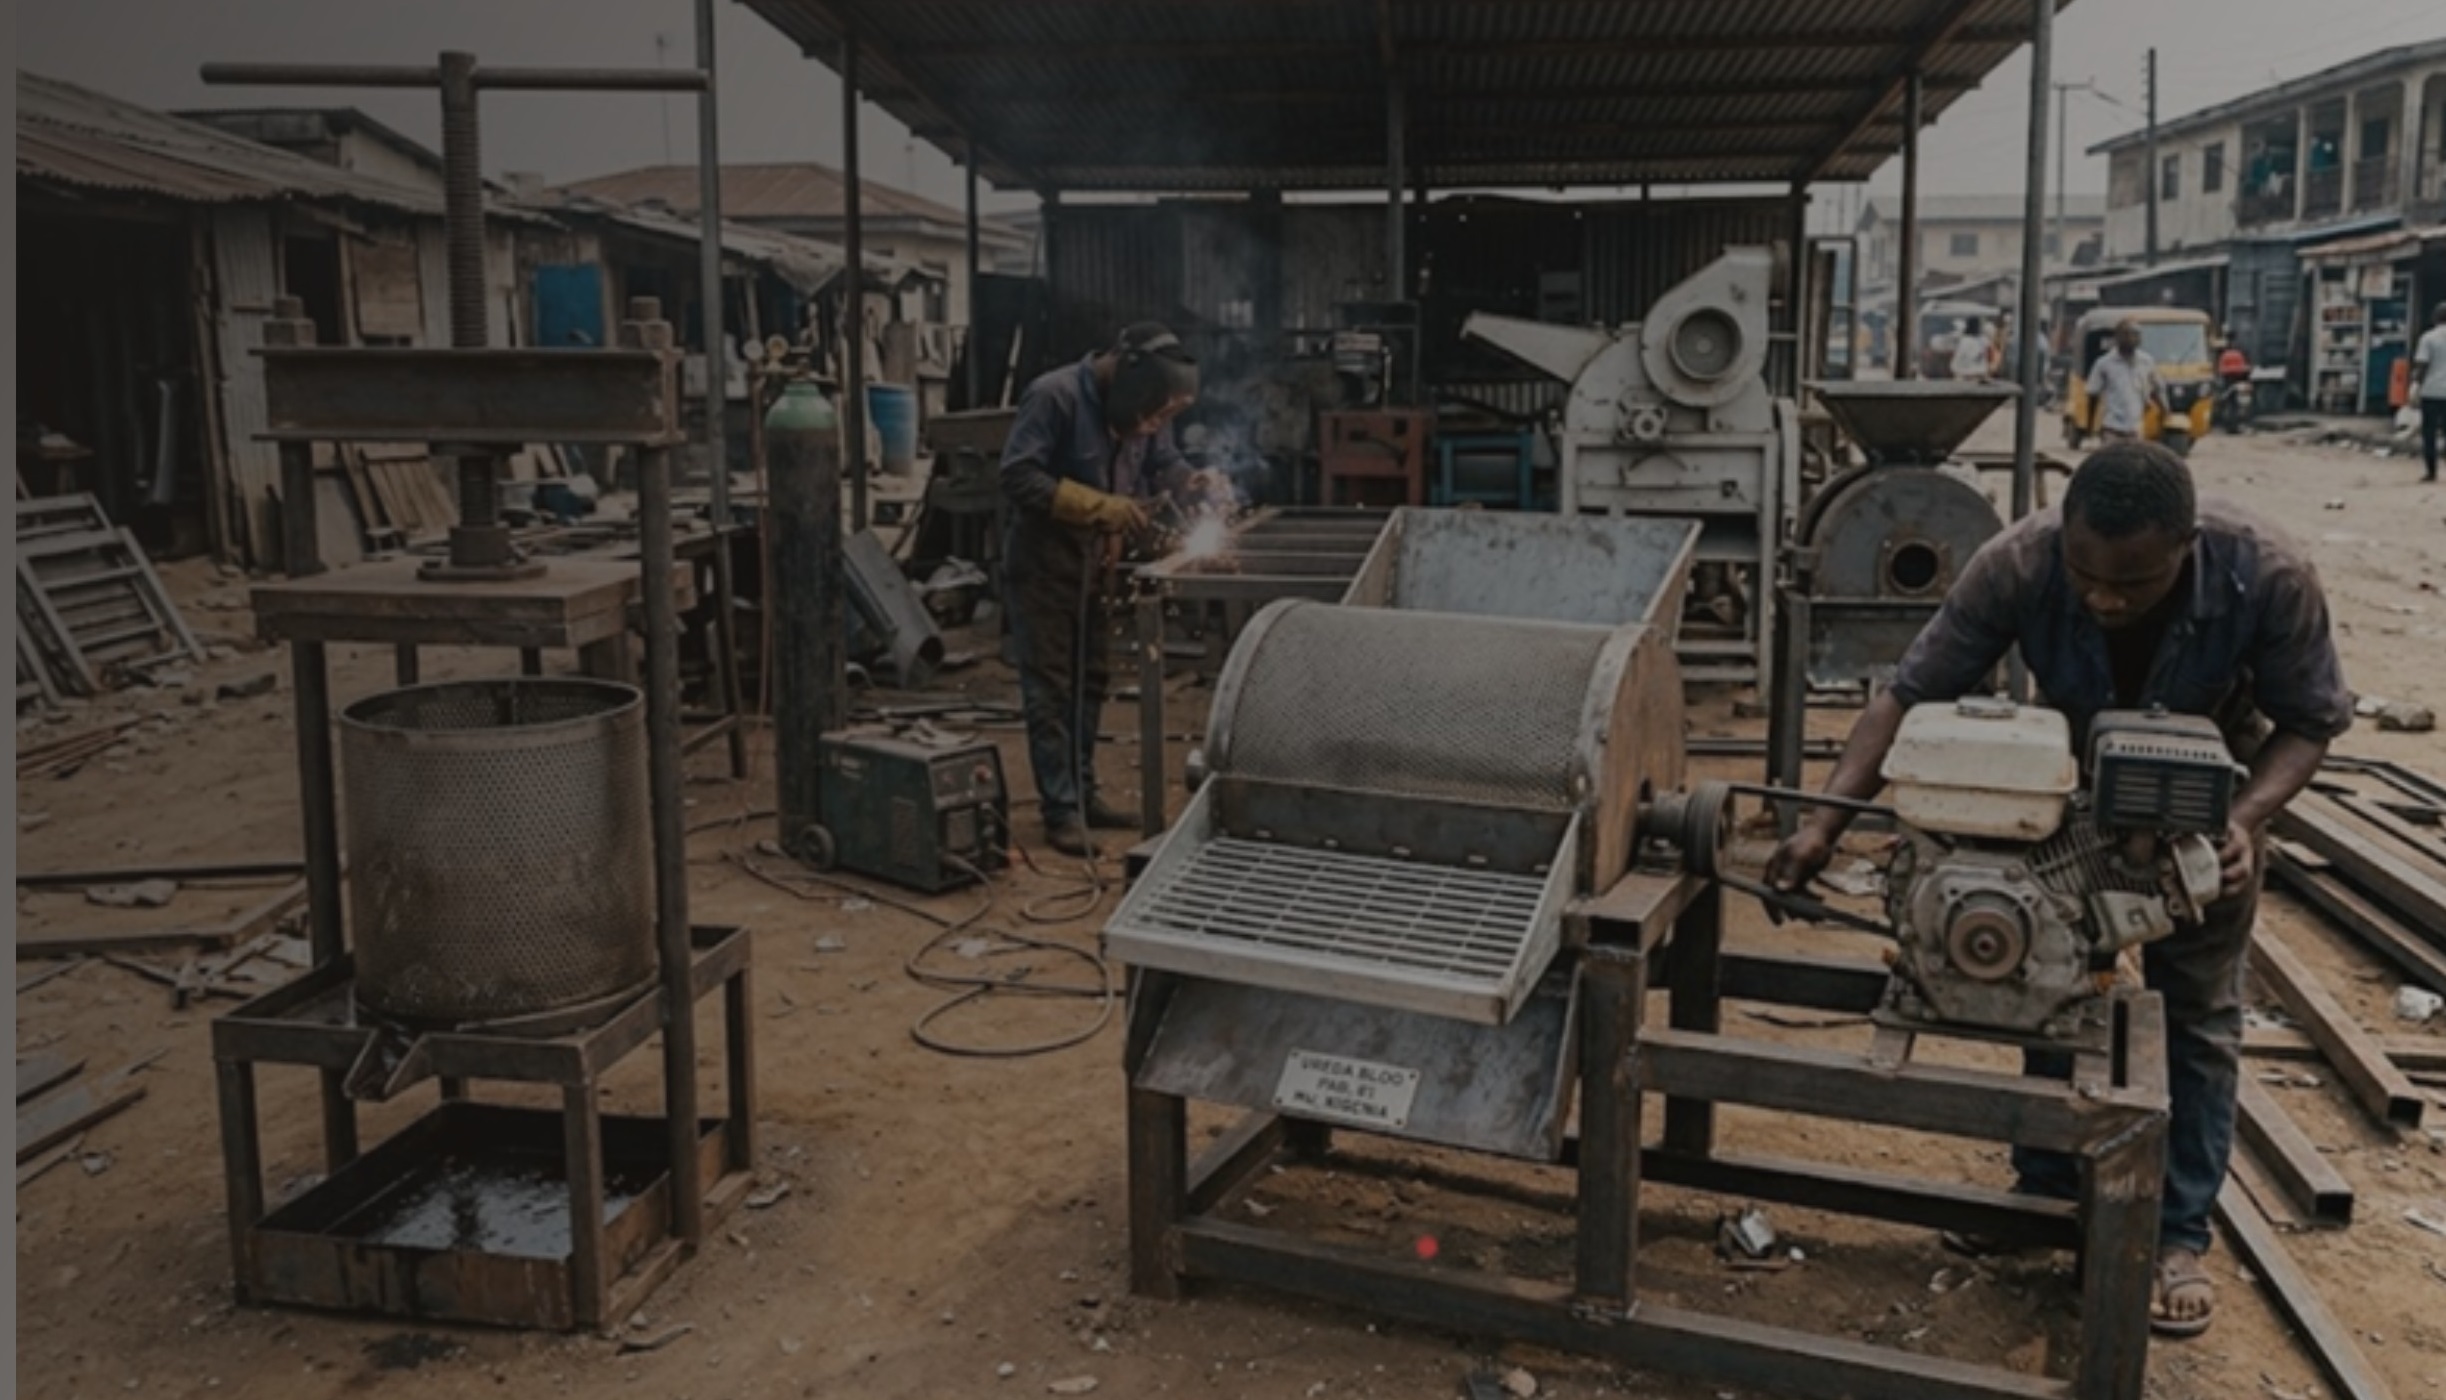
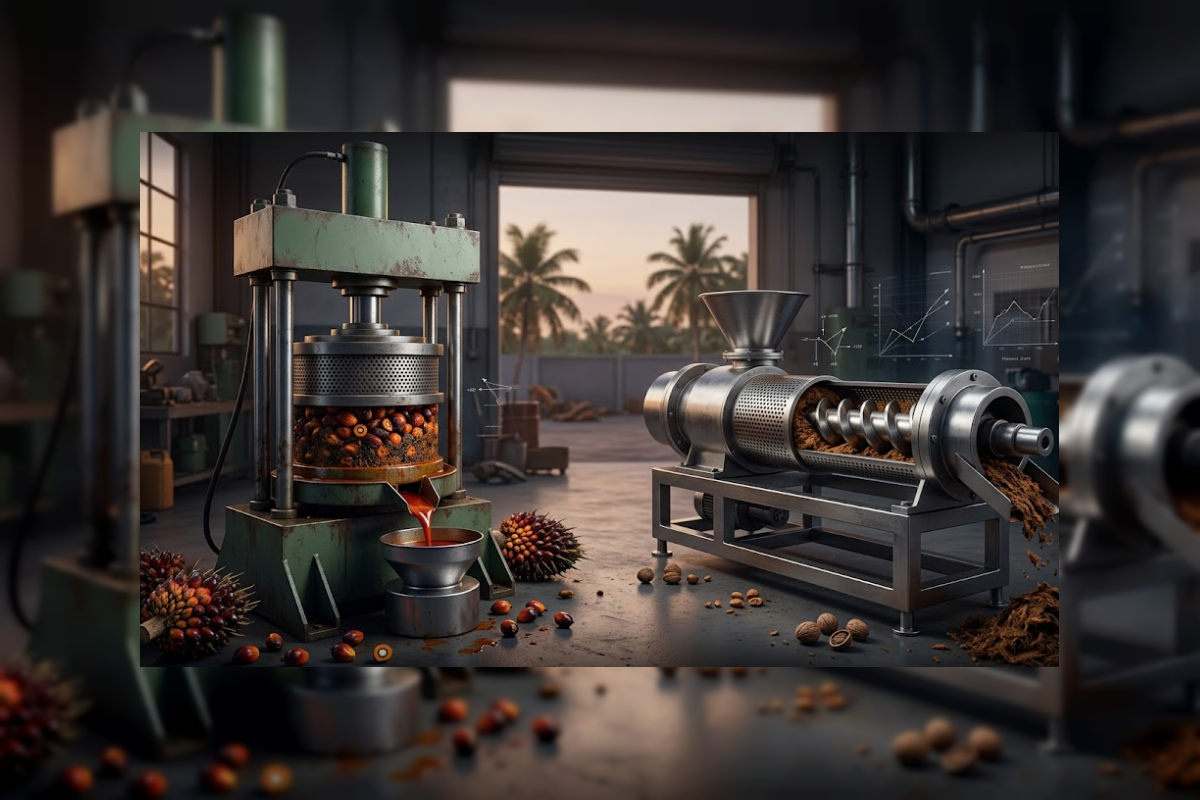
For indigenous fabrication workshops, foundries, and mechanical engineering hubs, engineering excellence is only half the battle. The second, often more challenging half is financial sustainability. Too many brilliant local fabricators build world-class agricultural processors, industrial mixers, and recycling equipment, only to find their workshops struggling to stay afloat at the end of the month.
Pricing heavy machinery cannot be done by guesswork or by casually undercutting a competitor. Because raw material costs fluctuate rapidly, specialized labor requires high precision, and workshop running expenses never stop, you need a transparent, data-driven pricing matrix. If your pricing doesn't account for every millimeter of steel, every grinding disc, and every drop of diesel powering your workshop, you are trading your engineering talent for a loss. Here is the definitive blueprint to pricing fabricated machinery for long-term profitability.
1. The Core Engineering Pricing Formula
To remove emotion from your business transactions, every quote leaving your engineering desk should rely on a foundational baseline formula. This equation ensures that you recover every expense incurred during the manufacturing process while guaranteeing a predictable cash return to scale your operations:
By breaking your operations down into these four distinct components, you protect your business from hidden leakages and ensure that your client is paying the true cost of production.
2. Breaking Down the Components
Component A: Total Material Cost (TMC)
Material costs represent the most volatile element in heavy fabrication. To safeguard your margins, never estimate material requirements from memory; always generate a strict Bill of Materials (BOM) before purchasing. Your material tracking must cover three layers:
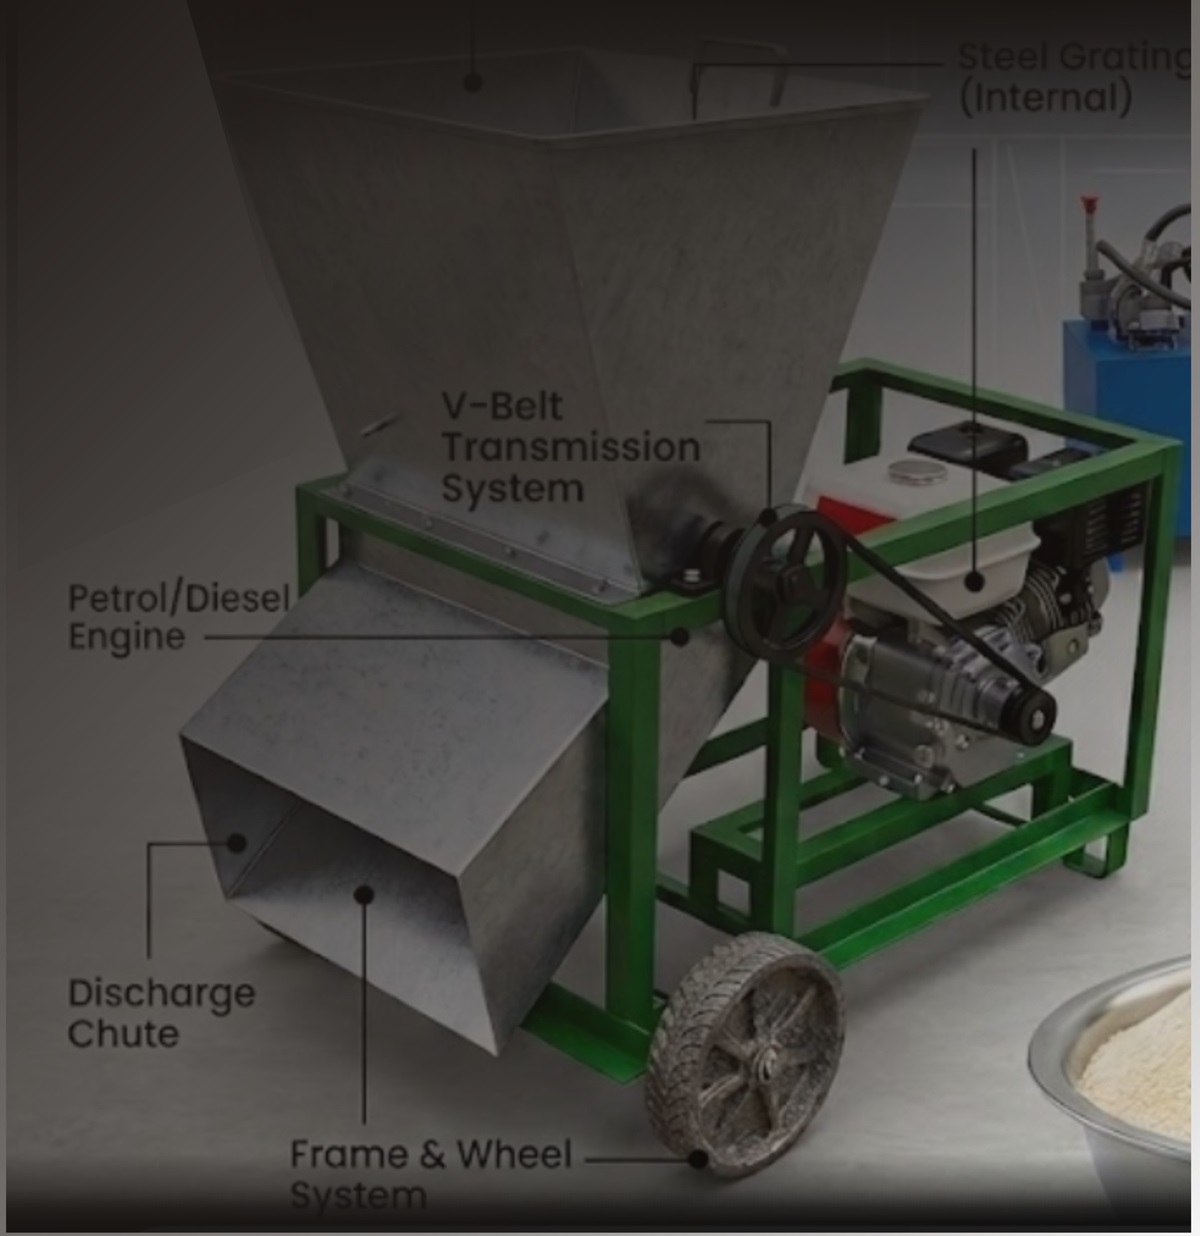
- Raw Metals & Modular Parts: This includes the heavy items angle iron, U-channels, sheet steel, solid shafts, check plates, as well as components like industrial bearings, electric motors, pulleys, gearboxes, and V-belts.
- Consumables Factor: This is where money silently leaks. You must account for welding electrodes, cutting discs, grinding stones, oxygen/acetylene gas, bolts, nuts, primers, and industrial topcoat paints. Treat these as a direct percentage of the main materials if tracking them individually is too tedious (typically 5% to 7% of raw steel cost).
- The Scrap/Waste Buffer: No fabrication project uses 100% of the raw metal purchased. Lathe turning creates metal shavings; sheet metal cutting leaves unusable corners. Always append a 5% to 10% waste buffer to your material cost. The client must pay for the off-cuts required to shape their machinery.
Component B: Direct Labor Cost (DLC)
Fabrication requires varying degrees of technical skill, and your pricing must reflect the specific hands touching the machine. Calculate labor by multiplying the estimated hours for each production stage by the hourly rate of that specific tier:
- Design & Engineering Tier: Time spent on CAD drafting, calculating mechanical stress, and mapping out the structural layouts.
- Skilled Machinist Tier: High-precision tasks handled by certified welders, lathe operators, and milling technicians.
- General Assembly Tier: Structural cutting, manual grinding, parts cleaning, assembly, and industrial painting.
By treating labor as an hourly or daily variable rather than a flat, arbitrary workshop bonus, you gain an accurate picture of how efficient your workshop is over time.
Component C: Overhead Allocation (OA)
Even if your welding machines are switched off and your staff is on break, your workshop costs money to run. Overhead allocation is the process of absorbing these fixed operational expenses into the selling price of every machine you build. This includes workshop facility rent, generator fuel, machine depreciation, tool replacements, and administrative utilities.
To calculate this, determine your total monthly operational overhead and divide it by the number of active production hours available in that month. If your workshop costs $1,600 a month to run and operates for 160 hours, your overhead rate is $10 per hour. If a commercial hammer mill takes 20 hours to fabricate, that machine must absorb $200 of your workshop's monthly overhead.
3. Choosing Your Profit Margin Matrix
Once you establish your total base cost to produce (Materials + Labor + Overhead), it is time to apply your net markup. Your margin should be determined by the complexity of the machinery and the competitive landscape:
| Machinery Class | Target Margin % | Typical Applications |
|---|---|---|
| Standardized / High-Volume | 20% – 30% | Common agricultural processing tools, basic mills, manual peelers, and entry-level food processing equipment where local alternatives are highly available. |
| Custom Engineering | 35% – 50% | Specialized automated conveyors, heavy-duty foundry equipment, industrial dryers, and re-engineered machinery tailored to custom factory footprints. |
| Proprietary / High-Risk | 50% + | One-off industrial prototypes, complex chemical processors, or heavy mechanical parts requiring significant specialized engineering risk and low production volume. |
4. Real-World Commercial Safeguards
Running a successful local fabrication hub requires protecting yourself against shifting economic realities. Incorporate these three ironclad rules into your client contracts:
- The Volatility Clause: Because global and local steel prices can spike overnight, limit your quotation validity strictly to 7 or 14 days. If a client takes three months to sign a contract, your material costs may have doubled.
- Milestone Payment Terms: Never finance a heavy fabrication project out of pocket. Implement a strict milestone structure—such as a 60% mobilization deposit to instantly secure raw materials and components, 30% upon structural assembly completion, and the final 10% paid upon successful Factory Acceptance Testing (FAT) at your workshop before delivery.
- Warranty Risk Premium: If you provide a structural or mechanical warranty (e.g., 6 months on bearing assemblies or structural welds), embed a 2% to 3% warranty reserve into your baseline cost. This ensures you have capital set aside if an engineer needs to make an emergency site visit to repair a component.
Conclusion
A thriving fabrication workshop isn't just one that produces beautiful welds; it is one that understands its numbers. By tracking materials accurately, respecting labor hours, absorbing your daily overhead, and asserting a fair profit margin, you transform your local foundry or fabrication yard from a basic workshop into a scalable, highly profitable engineering enterprise.
Comments (0)
No comments yet. Be the first!
Please login to leave a comment
Login to Comment